# NETDATA
# 1. 安装编译环境
1
| sudo apt install zlib1g-dev gcc make git autoconf autogen automake pkg-config uuid-dev
|
# 2. 克隆项目
1
| git clone https://github.com/firehol/netdata.git --depth=1
|
# 3. 安装 netdata
1
2
3
4
5
6
| https://www.cnblogs.com/beile/p/12875395.html
官方:https://learn.netdata.cloud/docs/agent/packaging/installer/methods/offline
./netdata-installer.sh
|
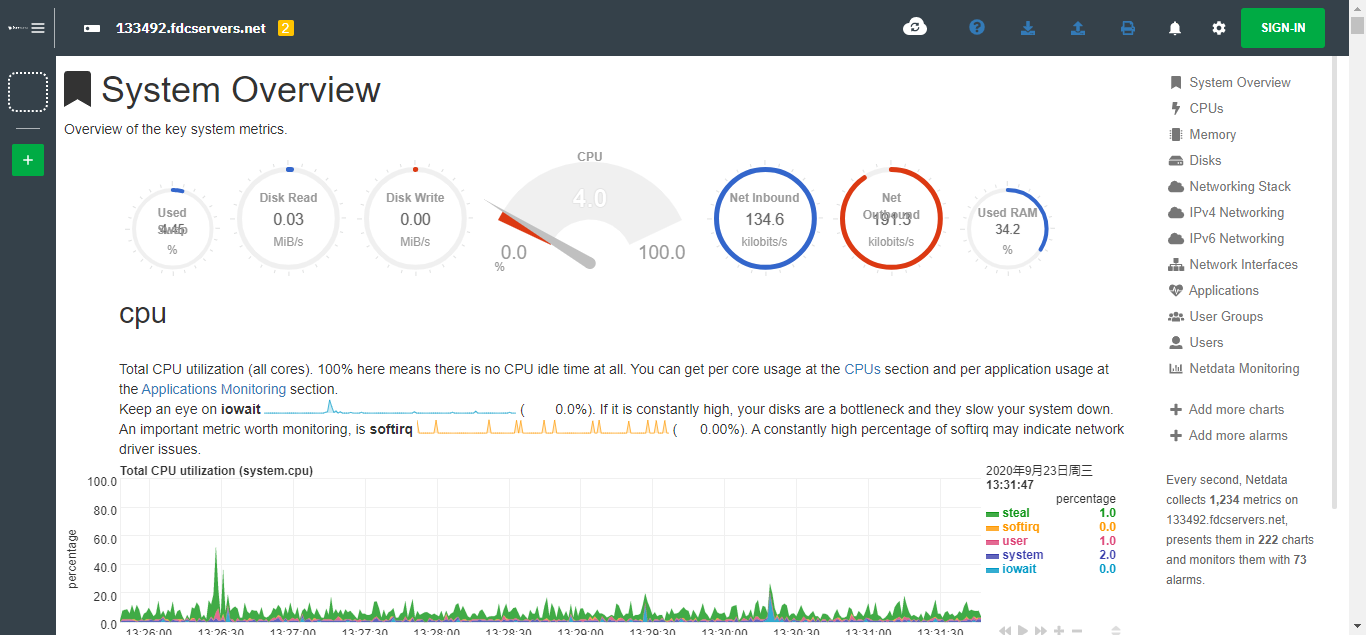
然后访问 IP:19999
![]()
# NGINX
# 1. 安装 Nginx
1
2
| sudo su
apt-get install nginx
|
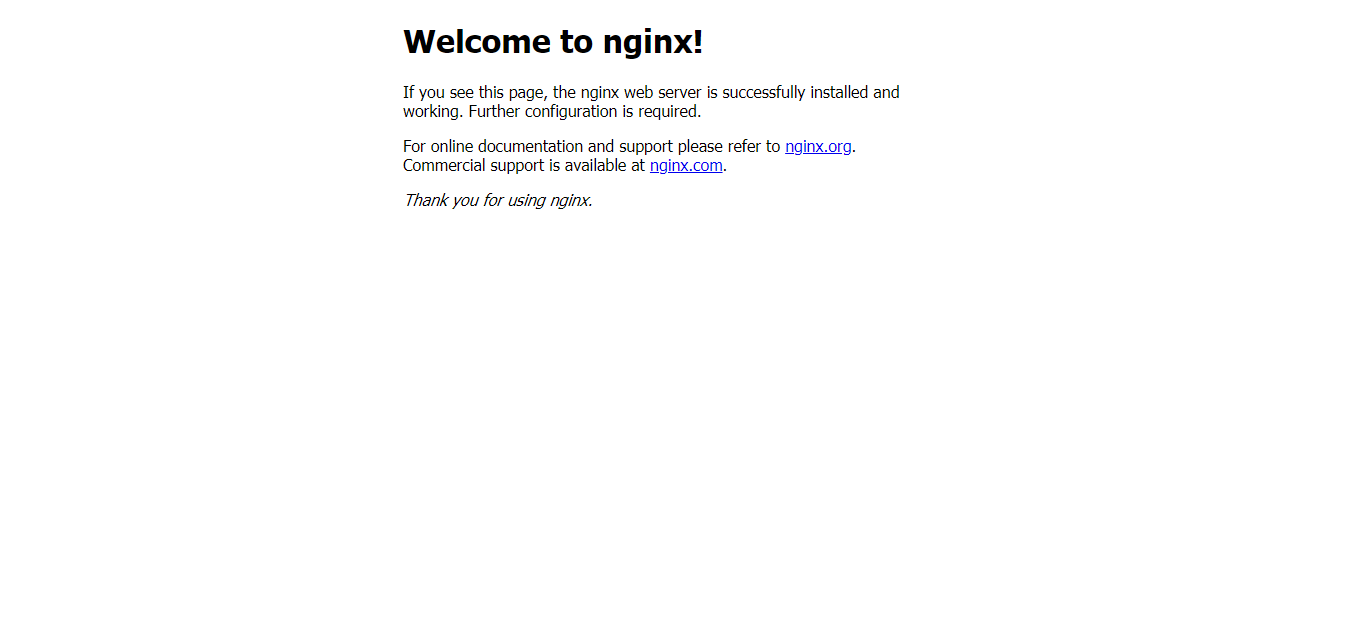
浏览器地址栏输入 IP 看到如下页面表示已经安装好了 Nginx,如果有域名,输入域名也是同样的效果(前提是已经给域名添加了解析)
![]()
# 2.Nginx 转发端口
我已经在服务器上安装了 netdata 服务,端口为 19999 , 但是通过 Nginx 访问服务器时默认是 80 端口,所以需要做一些配置,在我们输入域名的时候访问不同的端口。
1
2
3
4
5
6
7
8
9
10
11
12
13
14
15
16
17
18
19
20
21
| # nginx.conf里包含 include /etc/nginx/conf.d/*.conf; 所以可以在/etc/nginx/conf.d 文件夹下新增一个配置文件
server {
listen 80;
server_name IP;
location / {
client_max_body_size 3000m;
proxy_next_upstream http_502 http_504 error timeout invalid_header;
proxy_set_header Host $host;
proxy_set_header X-Real-IP $remote_addr;
proxy_set_header X-Real-PORT $remote_port;
proxy_set_header X-Forwarded-For $proxy_add_x_forwarded_for;
proxy_pass http://127.0.0.1:19999;
proxy_redirect default;
proxy_connect_timeout 3000;
}
}
|
这样 当我们在浏览器地址栏输入 域名时 就会自动跳转到 netdata 的主页
# 3. 反向代理 + 负载均衡 =>
1
2
3
4
5
6
7
8
9
10
11
12
13
14
15
16
17
18
19
20
21
22
|
upstream web_servers {
server 192.168.139.128:9001;
server 192.168.139.128:9002;
}
server {
listen 10086;
server_name 192.168.139.128;
location / {
proxy_pass http://web_servers;
proxy_set_header Host $host:$server_port;
}
}
|
# 时区
- https://blog.csdn.net/weixin_44109450/article/details/124259338
-
# Github
sudo vim /etc/hosts
140.82.112.4 github.com
199.232.69.194 github.global.ssl.fastly.net
# 内网穿透
1
2
| 1. https://doc.natfrp.com/#/frpc/service/systemd
2.
|
# Item2
1
| https://zhuanlan.zhihu.com/p/550022490
|
# 青龙
1
2
| # 进入青龙容器
docker exec -it qinglong bash
|
# 使用 systemctl 管理服务
1
2
3
4
5
6
7
8
| https://www.jianshu.com/p/2deb0b79cb10
# 路径
/etc/systemd/system
# 日志
journalctl -u 服务名
|
# Arthas
1
2
3
4
5
6
7
8
9
10
11
12
13
14
15
16
17
18
19
20
21
| https://arthas.aliyun.com/doc/quick-start.html#_2-%E5%90%AF%E5%8A%A8-arthas
[arthas@588425]$ watch net.lab1024.smartadmin.module.business.project.service.ProjectBaiscService queryProjects returnObj
Press Q or Ctrl+C to abort.
Affect(class count: 2 , method count: 2) cost in 170 ms, listenerId: 1
method=net.lab1024.smartadmin.module.business.project.service.ProjectBaiscService.queryProjects location=AtExit
ts=2022-11-28 20:11:49; [cost=37.212667ms] result=@ResponseDTO[
code=@Integer[1],
msg=@String[操作成功!],
success=@Boolean[true],
data=@ArrayList[isEmpty=false;size=13],
]
method=net.lab1024.smartadmin.module.business.project.service.ProjectBaiscService$$EnhancerBySpringCGLIB$$2f00139f.queryProjects location=AtExit
ts=2022-11-28 20:11:49; [cost=94.21994ms] result=@ResponseDTO[
code=@Integer[1],
msg=@String[操作成功!],
success=@Boolean[true],
data=@ArrayList[isEmpty=false;size=13],
]
|
# Prometheus
1
2
3
4
5
6
7
8
9
10
11
12
13
14
15
16
17
18
19
20
21
22
23
24
|
wget https://github.com/prometheus/prometheus/releases/download/v2.40.4/prometheus-2.40.4.linux-amd64.tar.gz
tar -zxvf prometheus-2.40.4.linux-amd64.tar.gz
sudo mv prometheus-2.40.4.linux-amd64 /usr/local/prometheus
vim /usr/lib/systemd/system/prometheus.service
[Unit]
Description=prometheus
After=network.target
[Service]
User=prometheus
Group=prometheus
WorkingDirectory=/usr/local/prometheus
ExecStart=/usr/local/prometheus/prometheus
[Install]
WantedBy=multi-user.target
systemctl daemon-reload
systemctl enable --now prometheus
|
1
2
3
4
5
6
7
8
9
10
11
12
13
14
15
16
17
18
19
20
21
22
23
24
| cd ~/gitee_go/deoloy
ls
tar -zxf output.tar.gz
cd target
pid=`ps -ef|grep xxx|grep -v grep|awk '{print $2}'`
if [ $pid ]
then
kill -15 $pid
fi
nohup java -jar xxx.jar --server.port=8090 &
for((i=1;i<=10;i++));
do
new_pid=`ps -ef|grep xxx|grep -v grep|awk '{print $2}'`
if [ ! $new_pid ]
then
echo 'starting......'
sleep 10
else
echo "Deploy Success"
break;
fi
done
|
1
| echo "alias python=/usr/bin/python3" >> ~/.bash_profile
|